
Last updated:
Excel add-in
The Any2Info Excel add-in lets you exchange data between an Excel worksheet and the Any2Info platform, using dataclips as the link between the two.
You can download the latest Excel add-in from portal.any2info.com, under Add-ins in the left menu. Pick the version that matches your App Studio software version.
Installation
Section titled “Installation”- Open portal.any2info.com and select Add-ins in the left menu.
- Download the latest Excel add-in.
- Ignore the default security warnings, keep the file, and run it anyway.
- Complete the install wizard.
- Open a new Excel worksheet. An Any2Info tab appears in the ribbon.
Connect to the platform
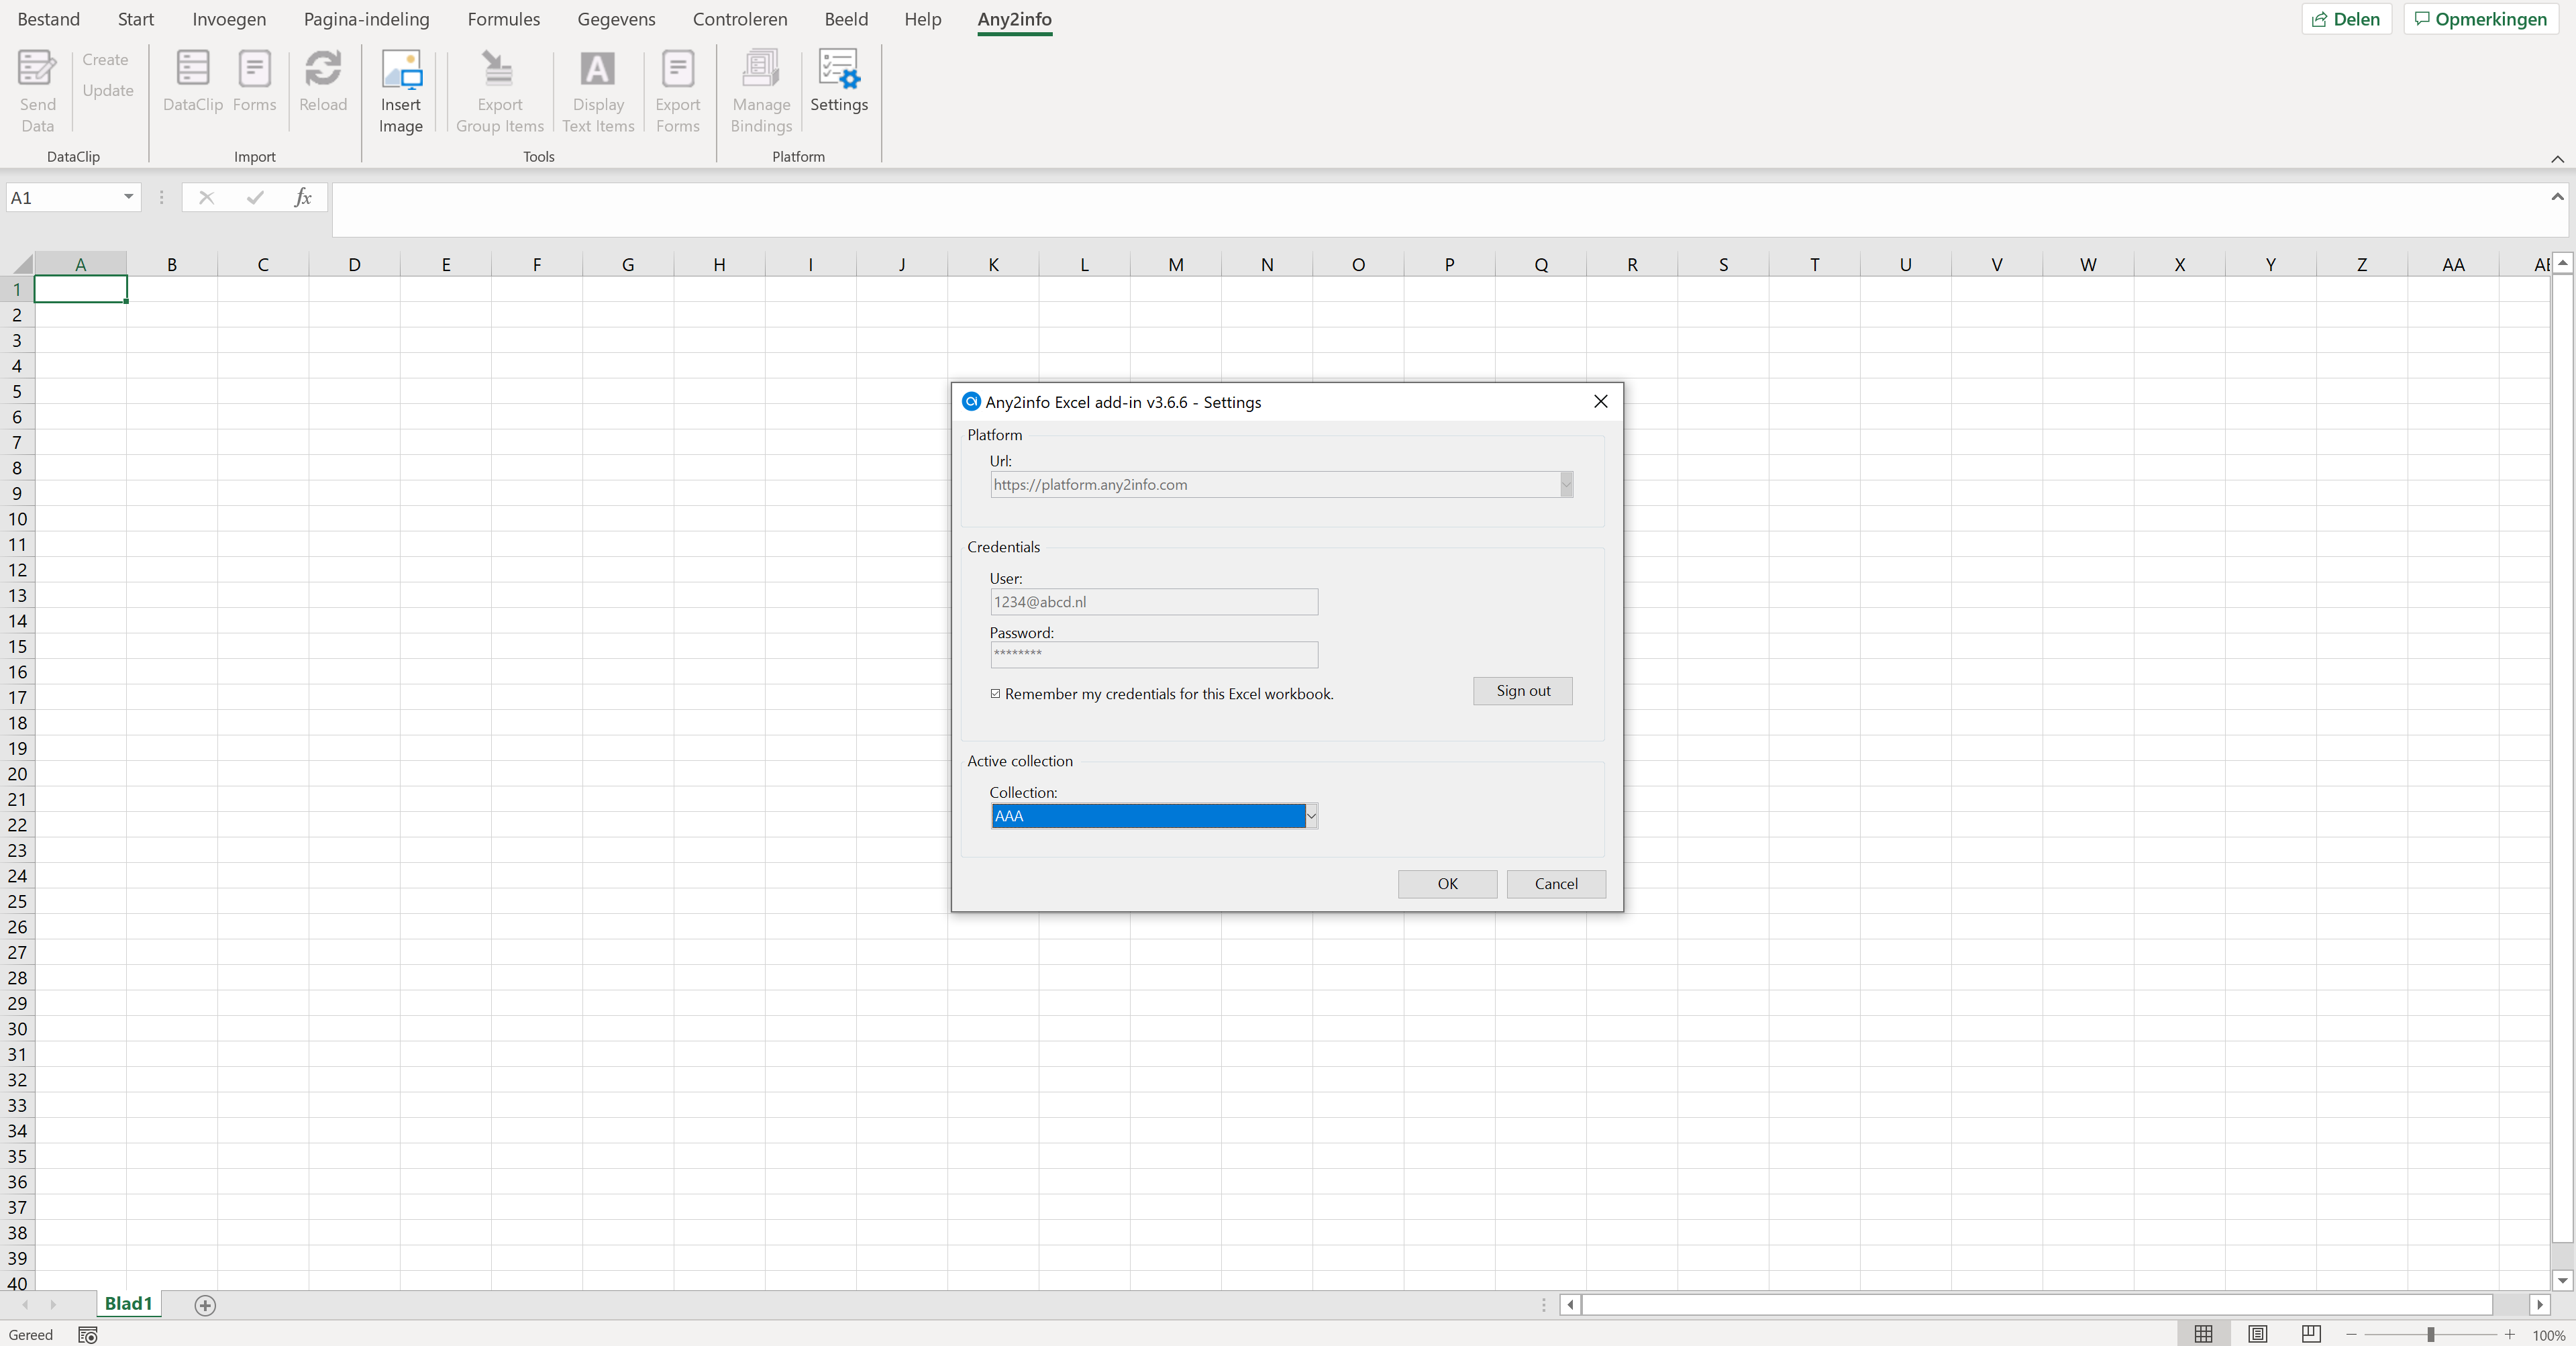
Section titled “Connect to the platform”Select Settings in the Any2Info tab and create a connection to the Any2Info platform: enter the platform URL and sign in with your username and password, then select your app collection.
Create a dataclip from an Excel table
Section titled “Create a dataclip from an Excel table”- Create an Excel table with one unique ID column.
- Place the cursor in the table and select Create in the toolbar.
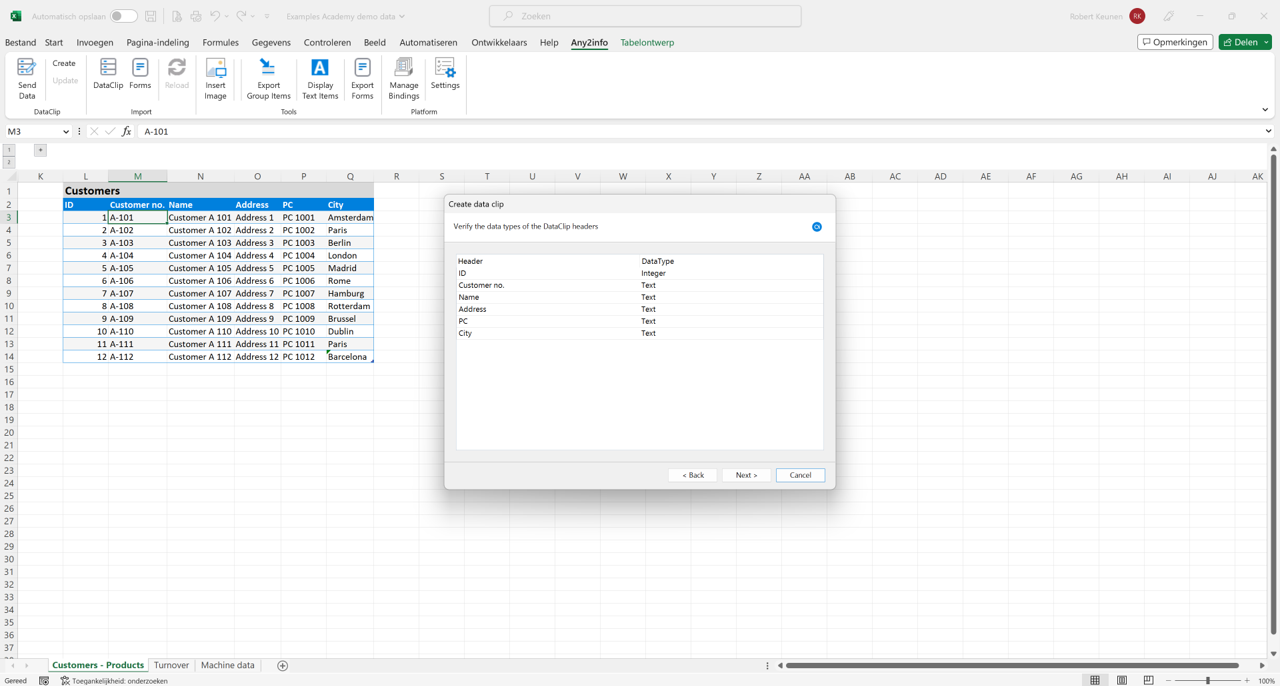
- Follow the wizard steps, adjusting field value types if needed, and choose the unique ID column.
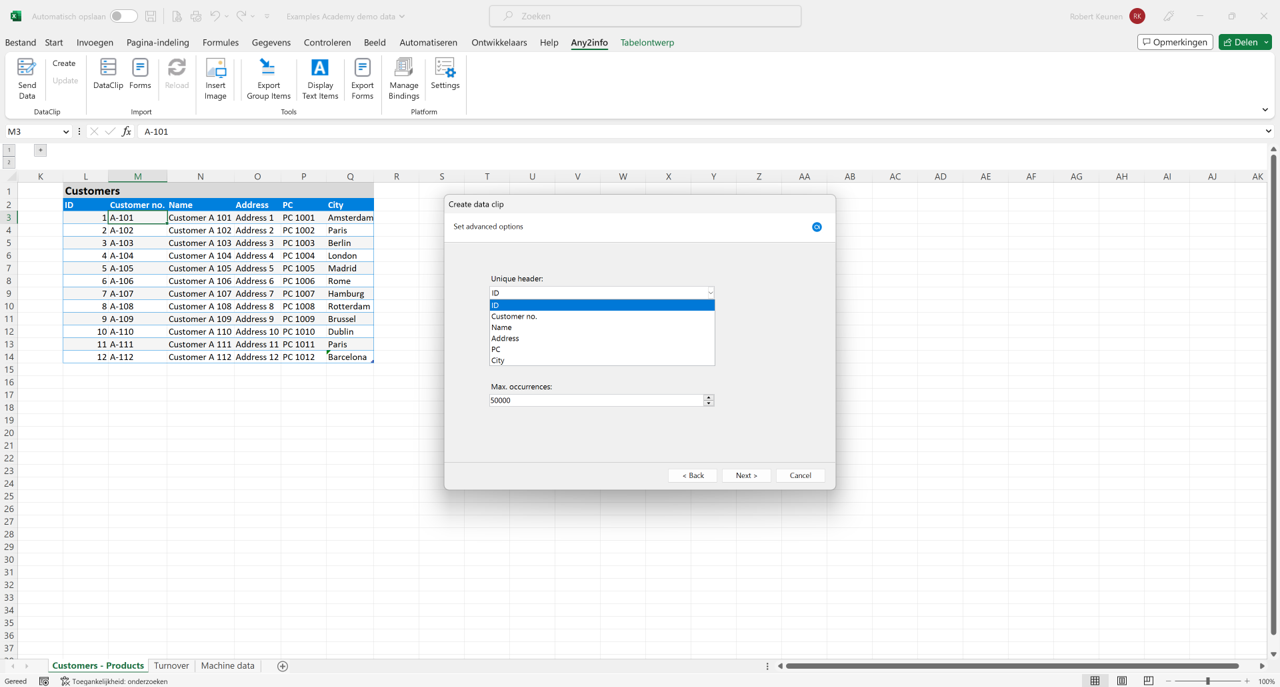
- Enter a name for the dataclip and complete the wizard.
- Select Send data in the toolbar to send the table data to the platform.
Open App Studio → Data → Dataclips and select Live View to see the result.
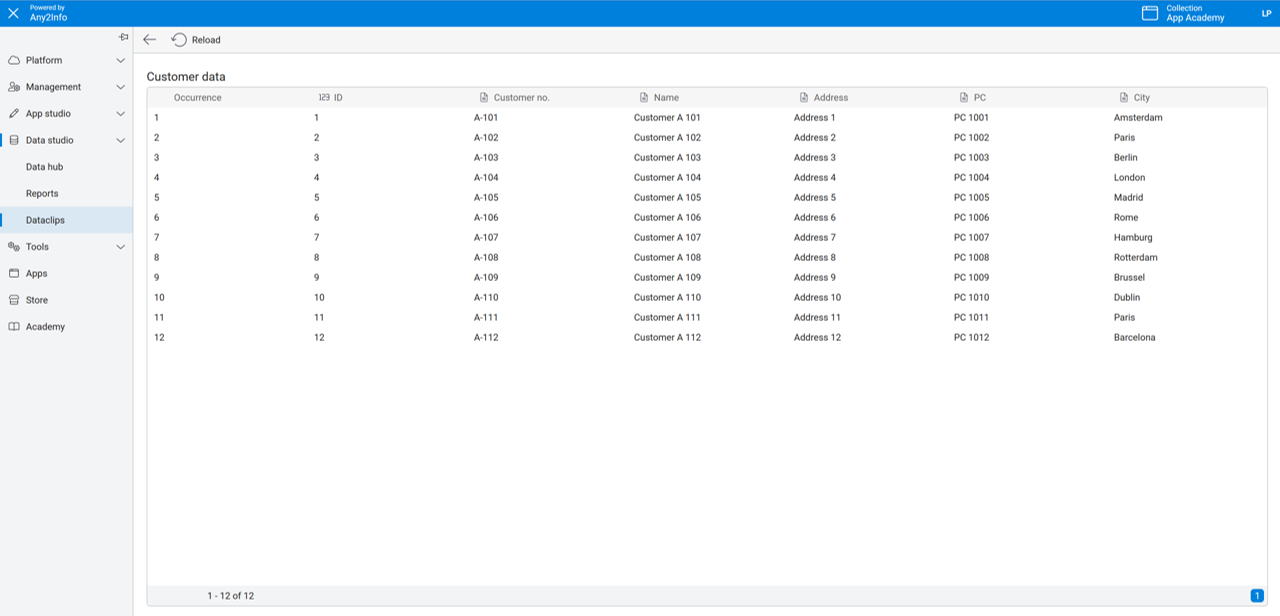
The Excel table data is now available as a dataclip, ready to use in dashboards (for example a grid) or forms (for example a list).
Create an Excel table from an existing dataclip
Section titled “Create an Excel table from an existing dataclip”Select Data clip in the toolbar and choose one of the available dataclips. Follow the wizard steps to insert a table into a worksheet.
Once the table exists, you can update its data by editing the cells and selecting Send data again.
Create an Excel table from a form
Section titled “Create an Excel table from a form”Select Forms in the toolbar and choose one of the available forms in the connected collection. The form’s content appears on screen, and you can select fields individually (checkbox) or by double-clicking them. Follow the wizard steps to insert the selected fields into an Excel worksheet.
Other functions
Section titled “Other functions”- Manage bindings: monitor or remove the table-to-dataclip bindings in the current workbook.
- Display text items: select text cells in a worksheet and send them to the platform as display texts.
- Export group items: specific function for use with master forms.
- Export forms: specific function for use with subforms.